ON LOCATION HEADSHOT SETUP
WITH MATTHEW HAMILTON
My location kit and why I use it
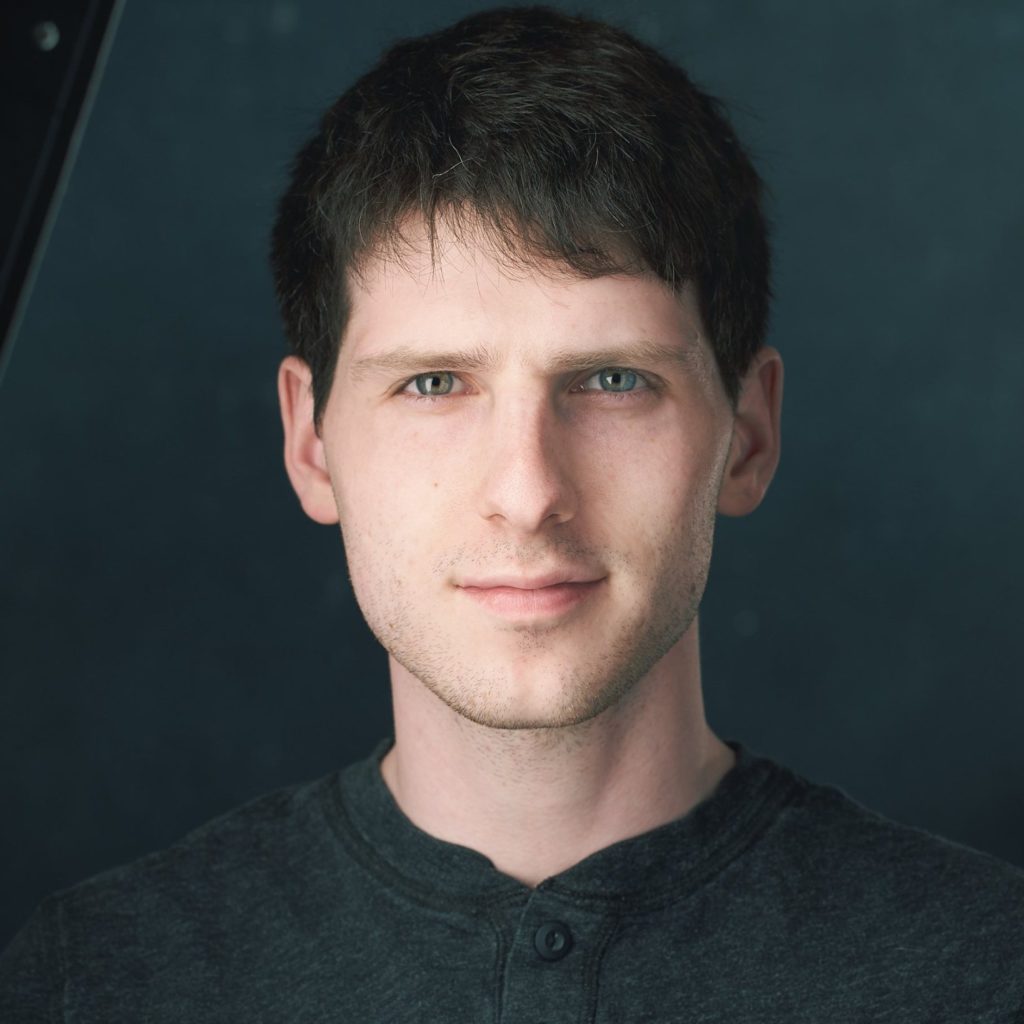
The gear I use for my on-location headshot jobs is a mixture of equipment I have purchased in order to solve specific problems I was having, as well as gear that has been proven through years of testing in the industry. My name is Matthew Hamilton and I’m a portrait photographer specializing in headshots in Philadelphia, Pennsylvania.
Lighting
I use the Peter Hurley Westcott Flex Kit for my headshot work. These lights are compact enough to travel with, which isn’t always easy for lighting. The other amazing thing about these lights is not only the size but the light quality! The lights are truly fantastic and because they are constant lights and not strobes, I can see the light on my subjects face in real-time and make slight adjustments on the fly. It’s what you see is what you get. This is especially important because I am usually moving pretty fast while shooting in an office setting.
Keep in mind that if your client requires a white background for their photos, you will need to light the background separately from your subject. When I need to provide my clients with a white background on location, I use two cheap Yongnuo speed lights pointed right at the backdrop.
The Peter Hurley Flex Kit can be found at B&H
Travel Cases & Bags
Everyone has their “go to” cases they use and there are certainly a lot of options on the market for this. I use the tried and true Pelican cases to transport my camera and lenses.
These cases have been around the industry for years now and have gotten rave reviews from their users and come in plenty of different sizes. This is why they were a no brainer purchase for me. I don’t have to worry about lenses moving around or bashing into one another during transport. I can safely throw this case around while not worrying about what is going on inside (although I wouldn’t recommend it).
One add-on that I opted to buy with my Pelican cases is the Trekpak divider system. This interior allows for more customization for the layout of the gear inside the case. You don’t need to worry about how you initially layout the equipment with this setup as much as with standard pick and pluck foam because you can easily adjust it as your gear changes.
As I said, I use the Westcott Flex Kit, but how am I getting the lights from my studio to the location? This is where the Westcott Flex Kit case comes into play. This is the case that comes with the light kit when you purchase it. There is enough room in there to fit all four panels (fully set up) and all of the mounting equipment needed. As an aside, I also use the Westcott Dual-Joint Tilter Bracket to mount the panels while on location instead of the yoke mounting system since it is easier to travel with.
Pelican 1510 Case With Foam on Amazon
TrekPak Foam Insert for Pelican 1510 Cases on Amazon
Backdrop
I currently use a Lastolite foldable backdrop for my location work. I love this background because it is large enough to give me plenty of options while shooting but also folds into itself (making it much smaller) for easy storage and transportation. Keep in mind, you will need a way to hang this backdrop onto a stand in order to use it. There are many different options on the market for this but I just use a standard clip reflector holder. The reason I use these over some of the other mounting options on the market is because of their simplicity and how lightweight they are.
Lastolite LL LB67GW Collapsible Background on Amazon
Stands
I am a firm believer in the Manfrotto compact stacking stands. They do exactly what they are designed to do (hold stuff up), while also remaining small for easy travel use. What sets these stands apart from others is the fact that they are actually designed to lock together for even easier traveling, and for that I love them!
Stands were always a pain point for me since they added unwanted weight to my kit, as well as always being difficult to fit into cars. These stands, when fully broken down, become tiny and lightweight, making them perfect for traveling.
Sandbags
I use the Westcott Hurley Pro Weight bags while on location. No one likes traveling with sandbags and this product allows that to be in the past! You can simply fill them up with water when you arrive at your location, and empty them before you leave. No more adding unwanted weight to your kit.
I have on multiple occasions tripped over a stand during a shoot and these weight bags have stopped my expensive gear from falling to the floor (or onto my subject). Better safe than sorry!
HurleyPro H2Pro Weight Bag at FJ Westcott
Tripod
I don’t use what you would call a “standard tripod”. I have converted a light stand into a working tripod using various adapters. This allows me to wheel around my camera and keeps my footprint down. Regular tripods when you extend them to their max height, they leave you with a super-wide base and I find that can easily become a hazard when shooting fast in an office. This light stand tripod takes some getting used to but I will never be going back to a regular tripod again.
Another great part of my tripod setup is the ball head. I use the Arca Swiss P0 Ball Head. This ball head allows me to quickly adjust the positioning of my camera, and I can do all of this with just one hand! This leaves my other hand free to direct my client.
Impact Folding Base Roller at Amazon
Matthews 415173 Baby Ball Head Adapter at Amazon
Arca-Swiss Monoball p0 Ballhead with Classic Quick Release on Amazon
Tethering
I like the Tether Tools Tethering Kit. It works in the studio, so why not use it on location? I can’t shoot without this setup as it helps me with everything from checking focus to coaching my clients during their shoot, all on a bigger monitor.
15 foot Tether Tools Tether cable on Amazon
Tether Table Aero Master on Amazon
Tether Tools Jerk Stopper on Amazon
Phase One’s Capture One Software on Amazon
Equipment Cart
You have all this gear but you still need to get it from the car to the shooting destination and hopefully in one trip. This is where the Rock and Roller cart comes into play! I love this cart and would hate to do location work without it as it makes transporting large amounts of gear, simple. I also purchased a GripnGaff bag for my cart. This is a great place to put stands that you do not have a case for. You can easily turn a multi-trip load-in, into one trip with this setup, and for that, I am grateful.
There are many different size options made by Rock n Roller. I personally use one of the smallest options, the R6RT. This cart costs much less than the bigger choices, but still allows for more than enough space to transport all of my gear. Also, keep in mind you will need to fit the folded up cart in the car with you. This is why I would recommend you get the smallest cart you can, while still being able to transport your gear in one trip.
GripnGaff Bag Version 2.0 at Amazon
There is a run through of the gear I use for my location work. All of these items make my traveling life easier and help provide my clients with a better experience. Hopefully I have given you some ideas as to how to make your on location jobs a breeze. If you have any questions about certain items and my experience using them, feel free to reach out as I would love to help out!

MATTHEW HAMILTON
SENIOR EDITOR
Photographer at MHamiltonVisuals
My name is Matthew Hamilton and I am a portrait photographer specializing in headshots in Philadelphia. I am the senior editor at Headshot Hot Sauce and have written for publications such as SLR Lounge and PetaPixel.
FOLLOW ME


